Create a wow with wall panelling (and no, you don’t have to be a qualified joiner!)
Wall panelling is a popular trend for home interiors. You have probably seen it on Instagram and thought that it’s a bit ambitious for the average DIYer to achieve on their own. Believe us when we say that with a bit of planning, DIY wall panelling is completely achievable. It’s a fabulous way to make a transformation and add a luxurious feel to practically any room in the house.
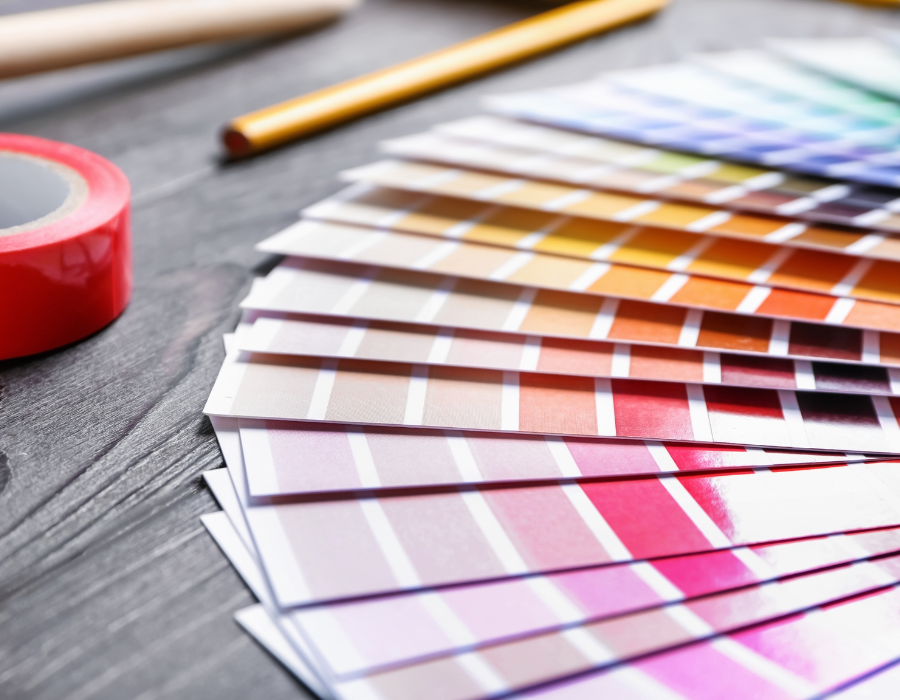
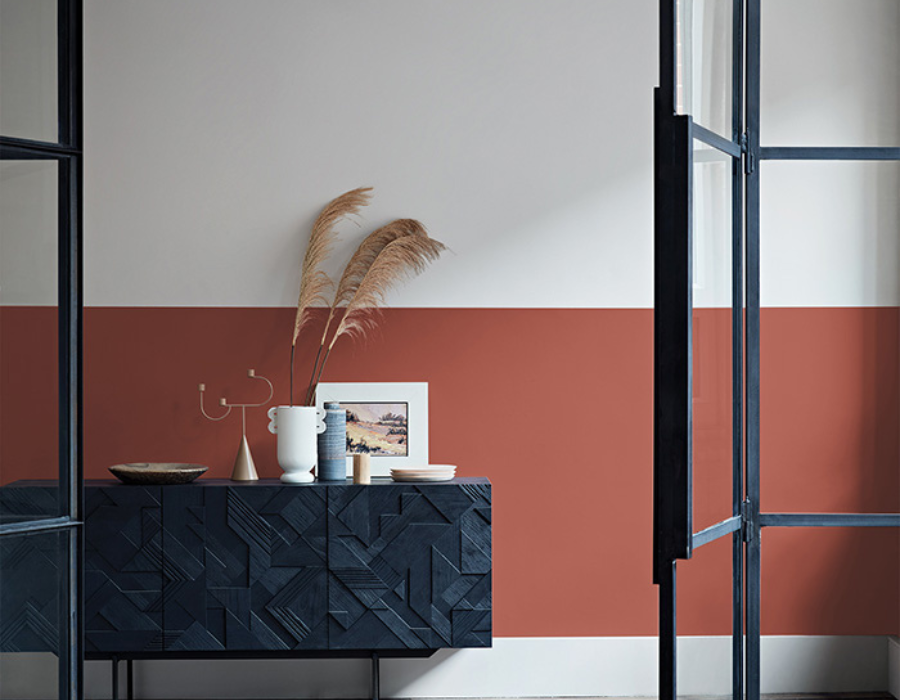
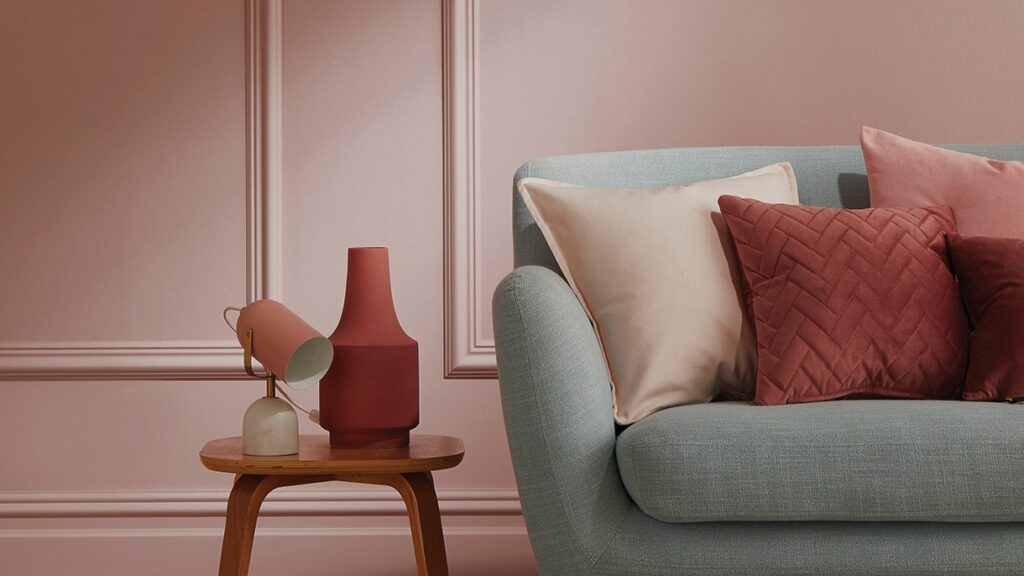
Before you do anything, decide on the look you want. You’ll find lots of inspiration online, so do your research first and find a style that best suits you and your space. You can go for a contemporary style or a traditional look – the choice is yours.
Wall panelling is really easy to do, but like any successful DIY project, planning is key. It’s the time-consuming part, but if you get the prep right, you’ll save time later on.
Choose MDF
MDF is probably the most commonly used material for panelling interior walls. It comes in a range of thicknesses: 6, 9, 12, 18 & 25mm, so choose the thickness that works best for your room (for example, you may choose to match the thickness of your skirting boards).
You will need:
- MDF wood panelling
- Tape measure
- Pencil
- Notebook
- Spirit level
- Strong adhesive
- Fine sandpaper/Sanding block
- Decorator’s Caulk
- Filler
- Crown Paint
- Paint brush
- Paint roller
Step 1:
Sketch out your panel plan first. It’s the easiest way to make sure you’ve got enough panels to complete the job and get the look. This is where your research and the references you’ve found will help. How many panels would you like on your wall?
Step 2:
Measure your walls. Take your time, double check your measurements and write them down. You may have obstacles to avoid like plug sockets, so make sure you take this into consideration too. TOP TIP: There are a number of online wall panelling calculators to help you with your measurements and ordering the right amount of material for your project.
Step 3:
Cut your panels yourself or head down to your local timber yard, or your nearest DIY shed will do it for you. Take your sketches and measurements down with you, leave nothing to chance.
Step 4:
Prepare your wall. Most walls need at least some prep, so be sure not to cut this corner. It will make applying the panels and then painting so much easier.
Fill any gaps or cracks. Use sandpaper or a sanding block to remove flaking plaster and paint etc. Then once you’ve got a smooth surface, you can start attaching the panels.
Step 5:
Apply your panels with strong adhesive (No More Nails or similar) starting with the horizontal base rail, followed by the top rail. Press and hold firmly, using a spirit level to ensure they’re straight, then leave to dry. Make sure they’re both securely fixed before moving on.
The vertical side stiles are next. Have your spirit level to hand to make sure they’re perfectly straight. Carefully affix the rest of your stiles between the side stiles, in neatly divided columns along the wall.
Now attach your short horizontal rails in-between your verticals if you’ve opted for this sort of pattern. Again, make sure you press down firmly, use a spirit level and leave to dry.
Step 6:
Fill any gaps by going over them with decorator’s caulk and filling in any cracks or holes. You will also need to fill and sand any joints between the stiles and rails so they’re smooth and seamless for a professional finish.
Step 7:
Prime time is where it gets exciting. Our Crown MDF Primer is ideal for preparing and sealing your MDF panelling. It’s easy to apply and touch in dry in one hour. Allow the first coat to dry thoroughly, then sand lightly with a fine grade sandpaper. Wipe clean with a dry cloth before applying your second coat.
Step 8:
Pick a colour, any colour and finish. Now you’re all primed, you’re ready for the last step: applying the final topcoats. We have plenty of helpful advice and guidance on painting a wall and which paint finish is best for woodwork.
You’ll find a superb range of multi-surface paints so you can seamlessly transition from walls to wood in our exclusive ELLE Decoration by Crown collection as well as our Crafted by Crown and easyclean® ranges.
Step 9:
Enjoy! Once you’re done, find a comfy chair, sit back and while you’re admiring your
handiwork, think… which room is next for your fantastic wall panelling
transformation?